No such option is provided for. Deleting security system events is prohibited under the requirements of EN 50131.
Copied
No such option is provided for. Deleting security system events is prohibited under the requirements of EN 50131.
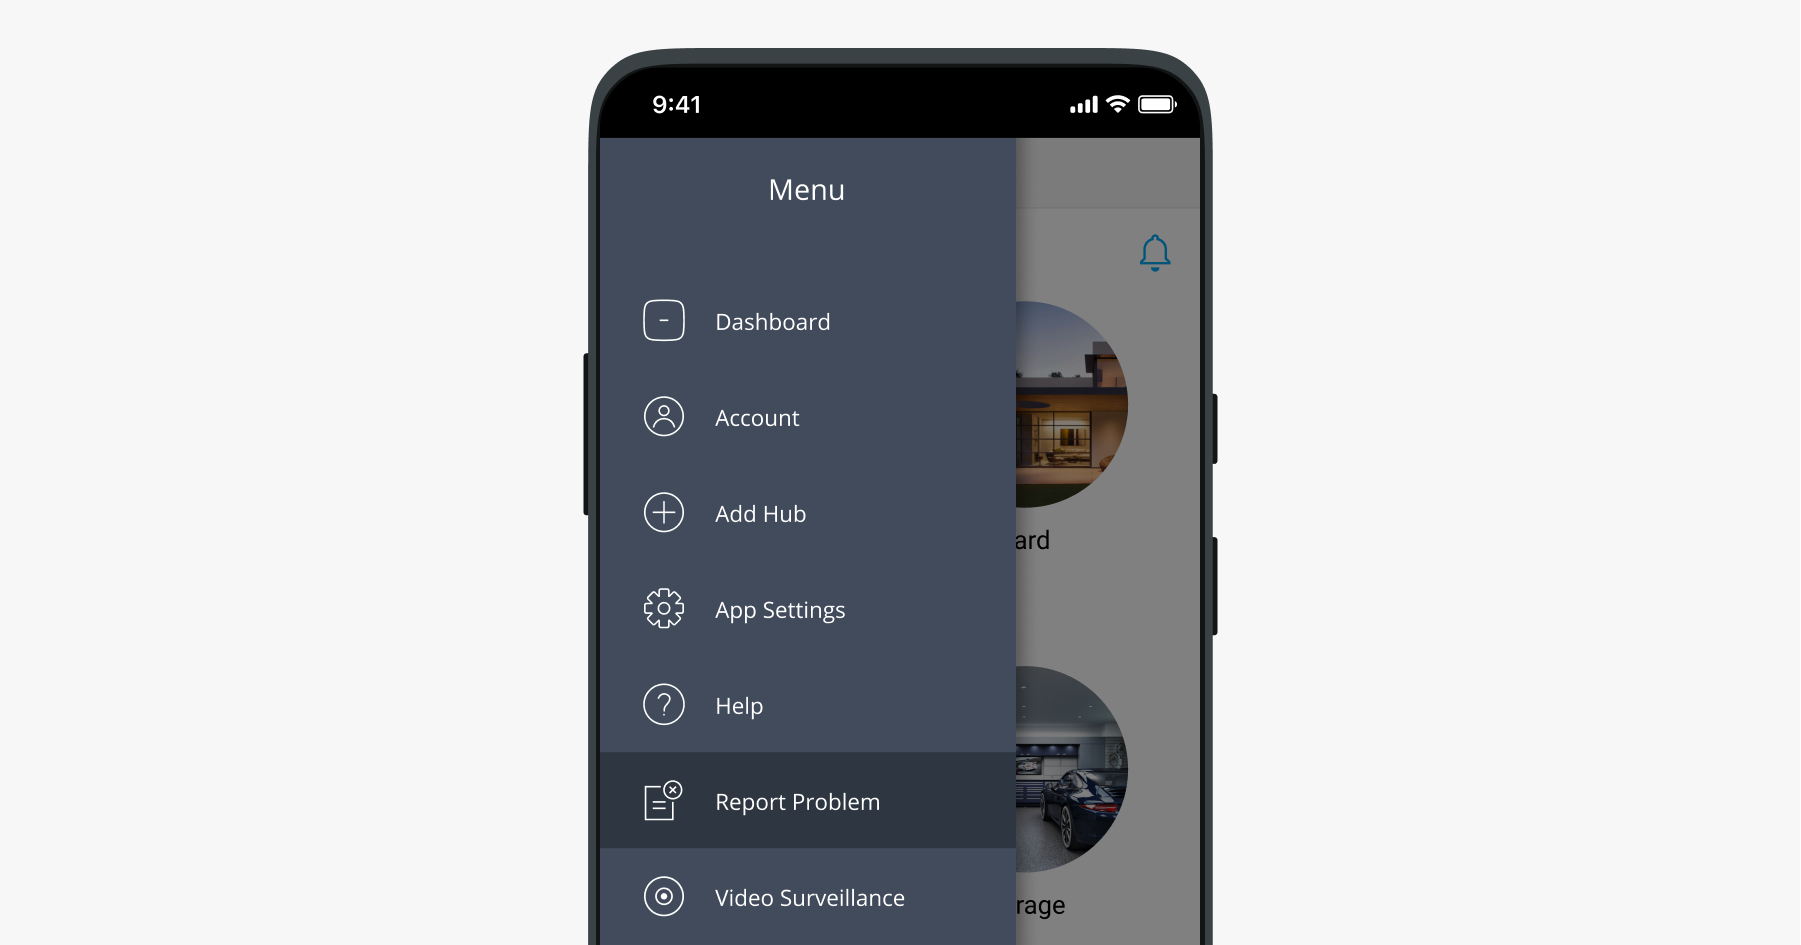
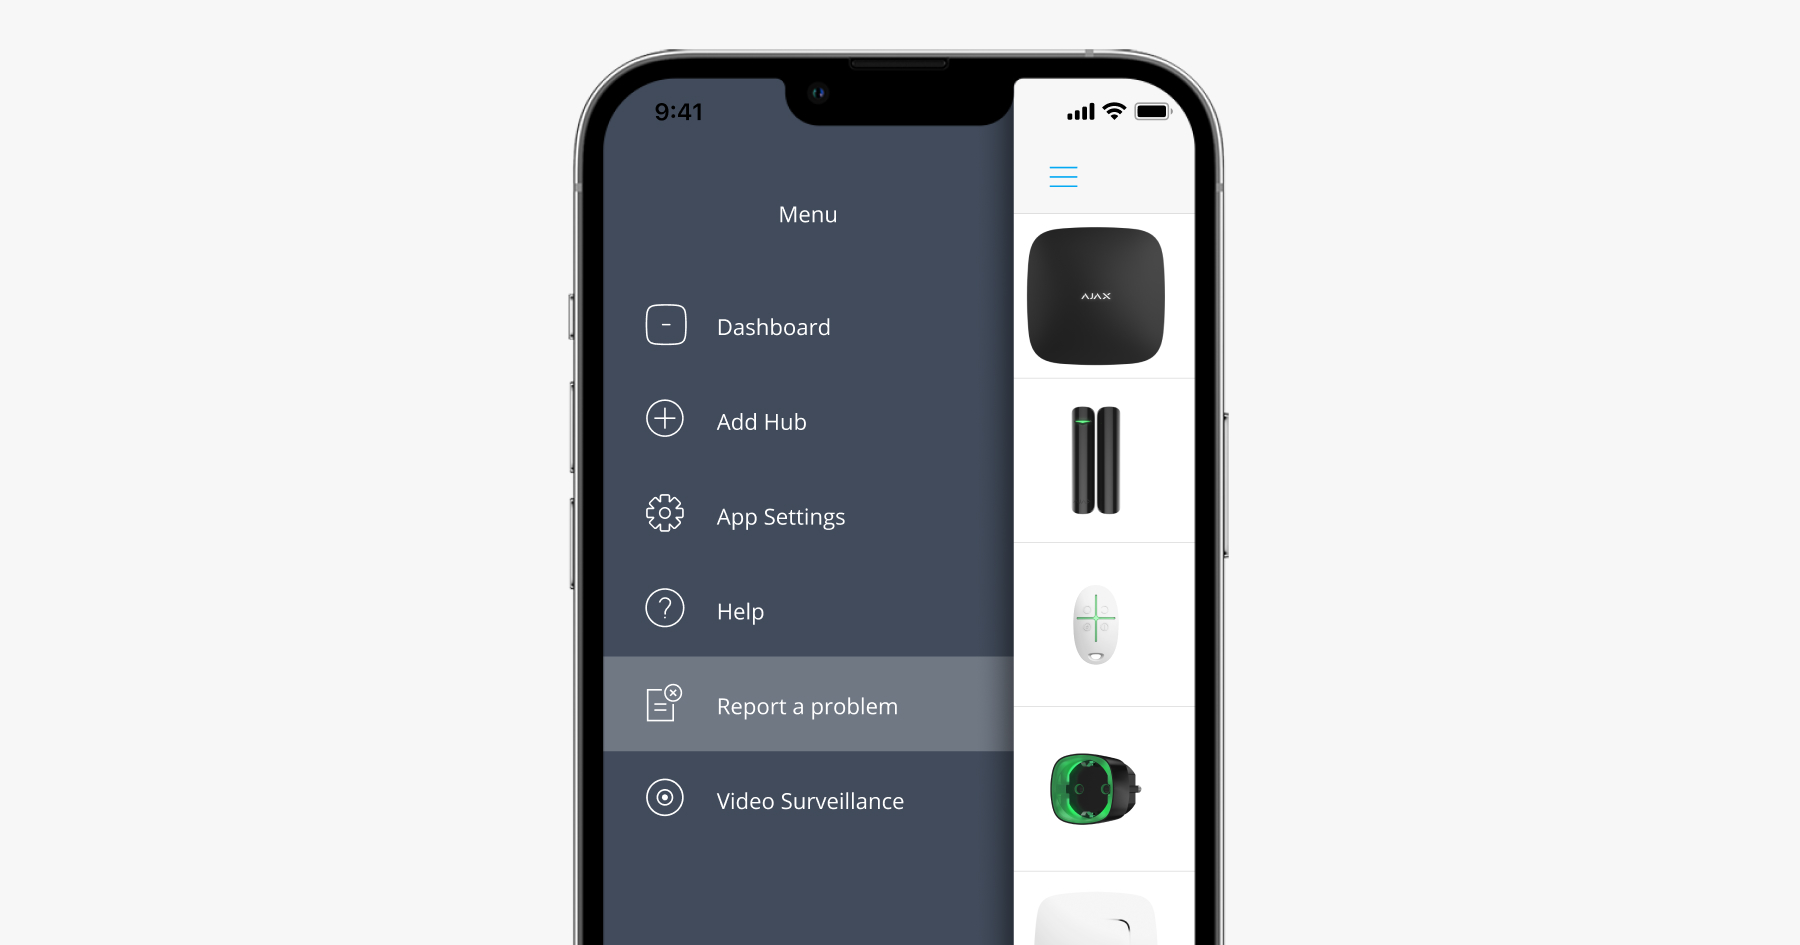
In the Ajax PRO app, the menu button is available only on the screen with the list of hubs linked to an account.
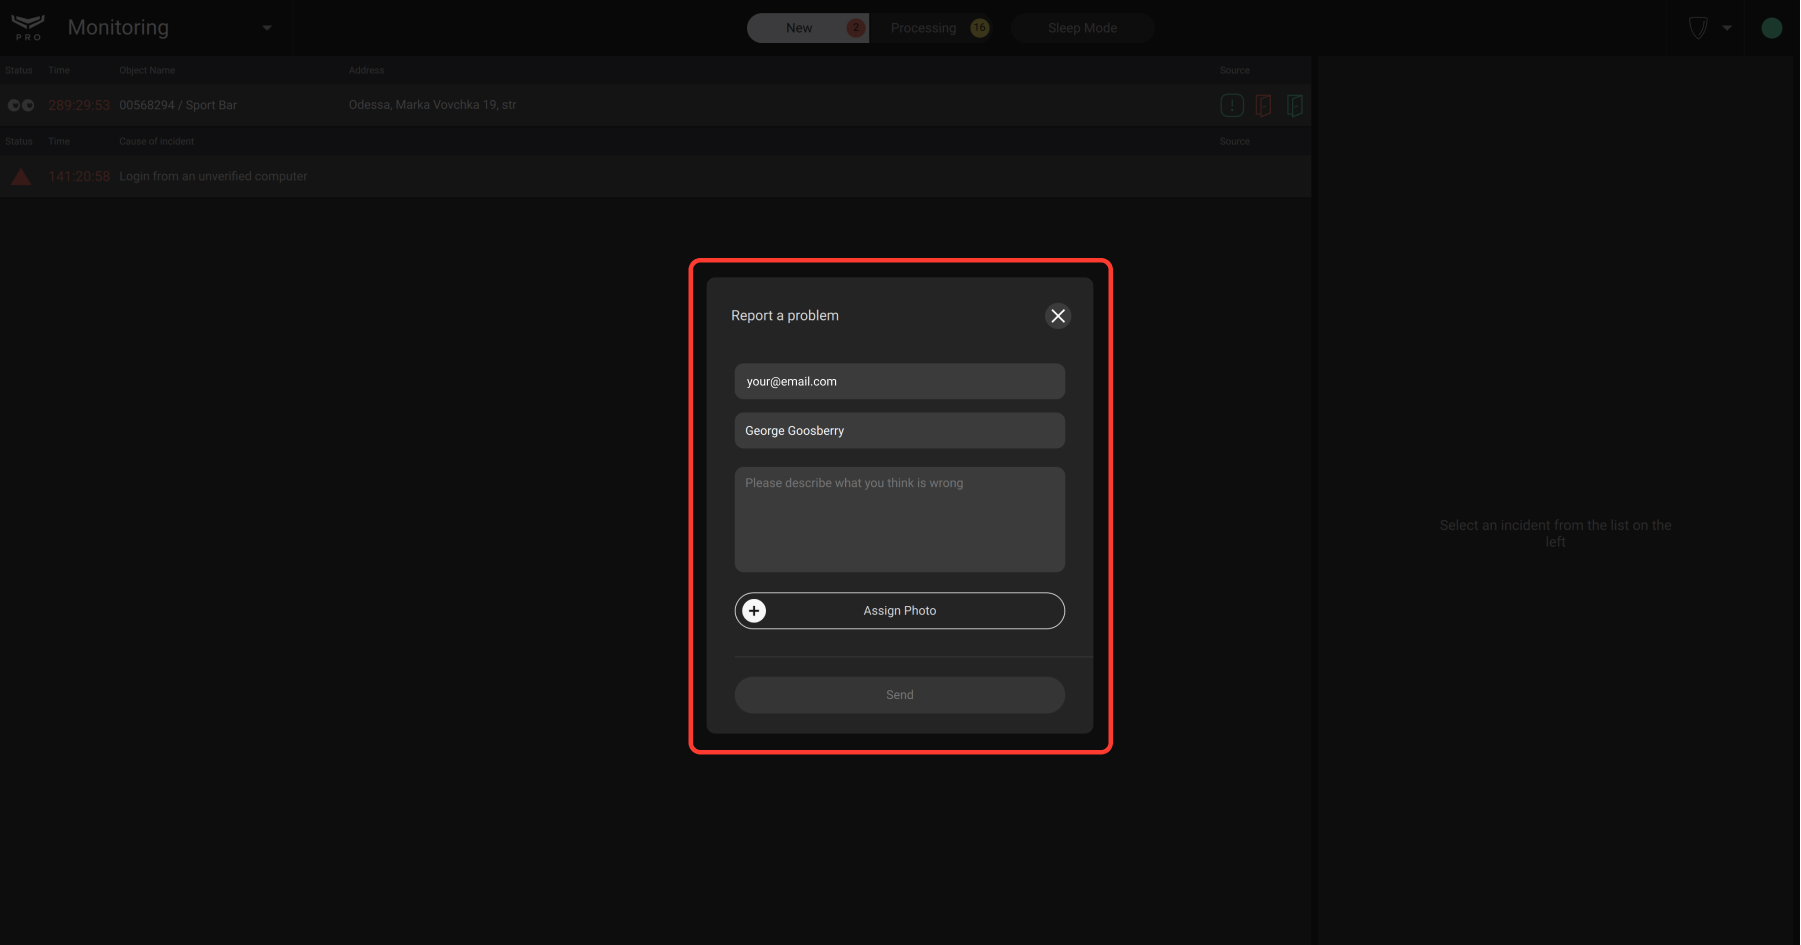
The problem report is sent to [email protected]. Please do not change the email address for sending a problem report.
You can also send a problem report directly to the support service via Telegram. For this:
The technical support chatbot does not receive voice and video messages. If you want to send a video file, its size should not exceed 20 MB. If the file size is more than 20 MB, upload the video to the file hosting service and send the technical support team a link to the file, having previously opened access to the file.
Our support team works 24/7/365. Once the request is received and processed, technical support service will respond to the email or Telegram from which this request was sent.
Our support team works 24/7/365. As soon as the request is received and processed, the technical support team will respond to the email from the form.
Two or more devices from the list (security detectors, sirens, panic buttons, control devices):
You can also select the following devices for intrusion confirmation (please note that the devices below cannot participate in alarm confirmation if you are configuring the system to comply with PD 6662):
The in-app panic button can also be a part of alarm confirmation.
For two-step arming, multiple control devices or one control device + detector.
To indicate an incomplete arming:
By default, a hub sends events and alarms to the security company monitoring station via the SIM card only once. If an error occurs during transmission, an event or alarm will not be delivered, and Not connected status will be displayed in the Monitoring Station field in the screen of hub states. Such errors can occur due to the router settings used by the security company.
For your hub to ignore errors and re-send events to an ARC, enable the Ignore network registration errors and Disable communication check with the operator in the hub settings. You can do this in the Ajax apps:
After enabling these options, click Back to apply the settings. If events are still not sent, please contact our Support Service.
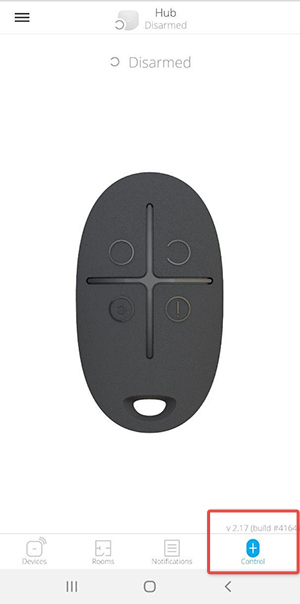
With OS Malevich 2.9 update, when the panic button is pressed in the app, not only the event but also the smartphone coordinates are transmitted to the security company. System users can copy the coordinates from the events feed.
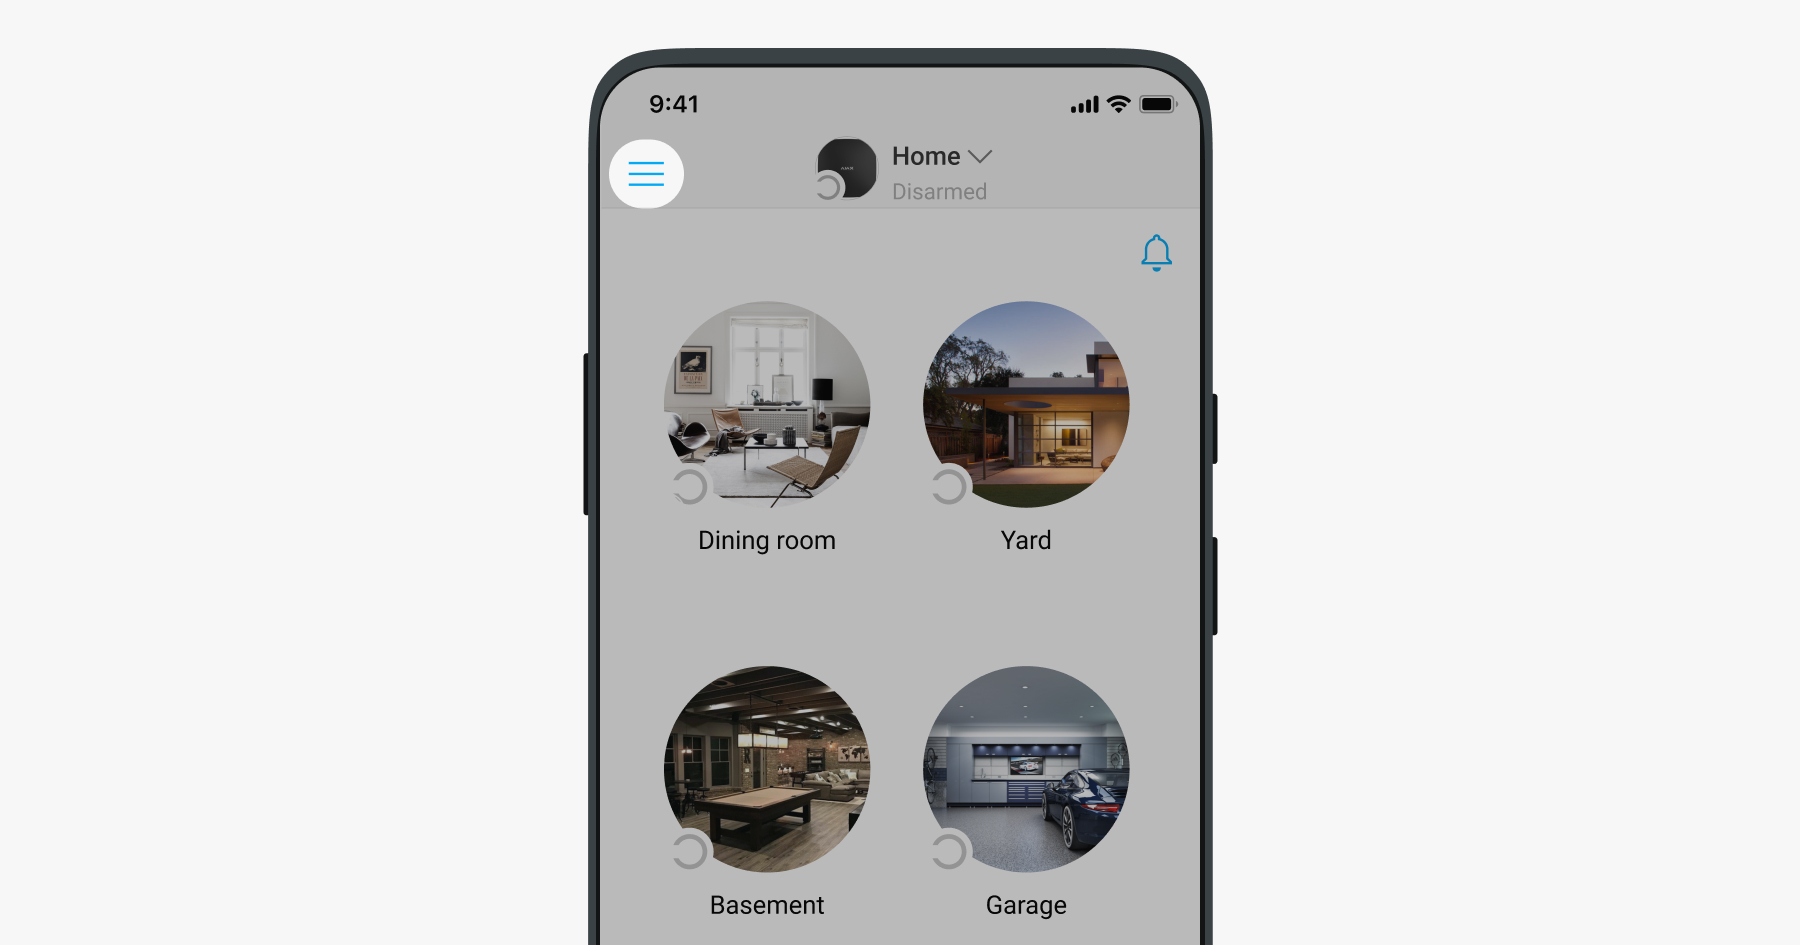
The panic button is available in the space regardless of the hub presence.
Ajax apps can be installed on a smartphone from App Store or Google Play. If you don’t have such applications, you can download the installation APK file of the Ajax app through specialized services.
We do not guarantee the correct operation of Ajax apps downloaded through third-party services.
Please, check that the Allow installing applications from unknown sources option is enabled in the smartphone’s settings (depending on the phone model, the option name may vary). When enabled, run the downloaded APK file to install the app.
Two-factor authentication is supported by the following apps:
Yes, you can. The keyfob is compatible with wired and wireless systems using Ajax ocBridge Plus or Ajax uartBridge.
Add a key fob to the receiver and assign buttons to the corresponding zones. The zones must be added to the 24-hour zones of the control panel.
Only one key fob button can be assigned to a single ocBridge Plus zone. When you select the type of zone “Arming/Disarming”, two buttons of the key fob are assigned to the zone at once (arming and disarming).
Yes, if the third-party system supports the UART data interface and the communication protocol can be configured or programmed. To configure uartBridge, use the uartBridge protocol.
If you have troubles with setting up a third-party security system with uartBridge, please, contact the manufacturer of this device.
uartBridge does not have dry contacts (NC/NO outputs), but there is a two-way data transfer protocol via the UART interface. With it, you can get information about each device (battery, alarm, sensor status) and connect up to 85 devices.
57600 bps (baud)
By default, ocBridge Plus response period is set to ping detectors every 36 seconds and to signal an alert after 40 undelivered passes. Under these settings, it will take about 24 minutes for the system to recognize a communication failure.
You can adjust these settings by opening the Ajax configuration settings and connecting to ocBridge Plus. Find the Service Events Control tab, then Lost Connection, and change Passes Number. You can change response period in the Radio Zone tab.
We would like to recommend you to activate SMS and calls in case of alarms. SMS and calls can be activated in User settings (Ajax app → Devices ![]() → Hub → Settings
→ Hub → Settings ![]() → Users → User Settings
→ Users → User Settings ![]() ).
).
To delete a group:
At the moment, it is impossible to delete all groups from the hub. To completely remove all groups, the hub must be returned to the factory settings!
To disable the group mode, go to groups settings (Hub → Settings ![]() → Groups) and deactivate the group mode.
→ Groups) and deactivate the group mode.
The ID of the group is a number of the group, which is necessary for arm separate groups from the keyboard.
The group number (ID) is displayed in the group settings (Hub → Settings ![]() → Groups).
→ Groups).
In hubs with the firmware version OS Malevich 2.6 and latest hub administrator can limit the user’s access to the following functionality:
All these settings you can find in the user’s settings (Hub → ![]() → Users → User settings
→ Users → User settings ![]() ).
).
The rights to the group, viewing notifications, devices and rooms can only be removed from the user account!
The second IP address is a backup in case of direct connection to the Central Monitoring Station (CMS).
If the main IP address is not available, the hub uses the second IP address to send events.
The direct connection (Monitoring Station tab) is the channel used to transmit hub events directly to the Central Monitoring Station (CMS) of the security provider, bypassing our server.
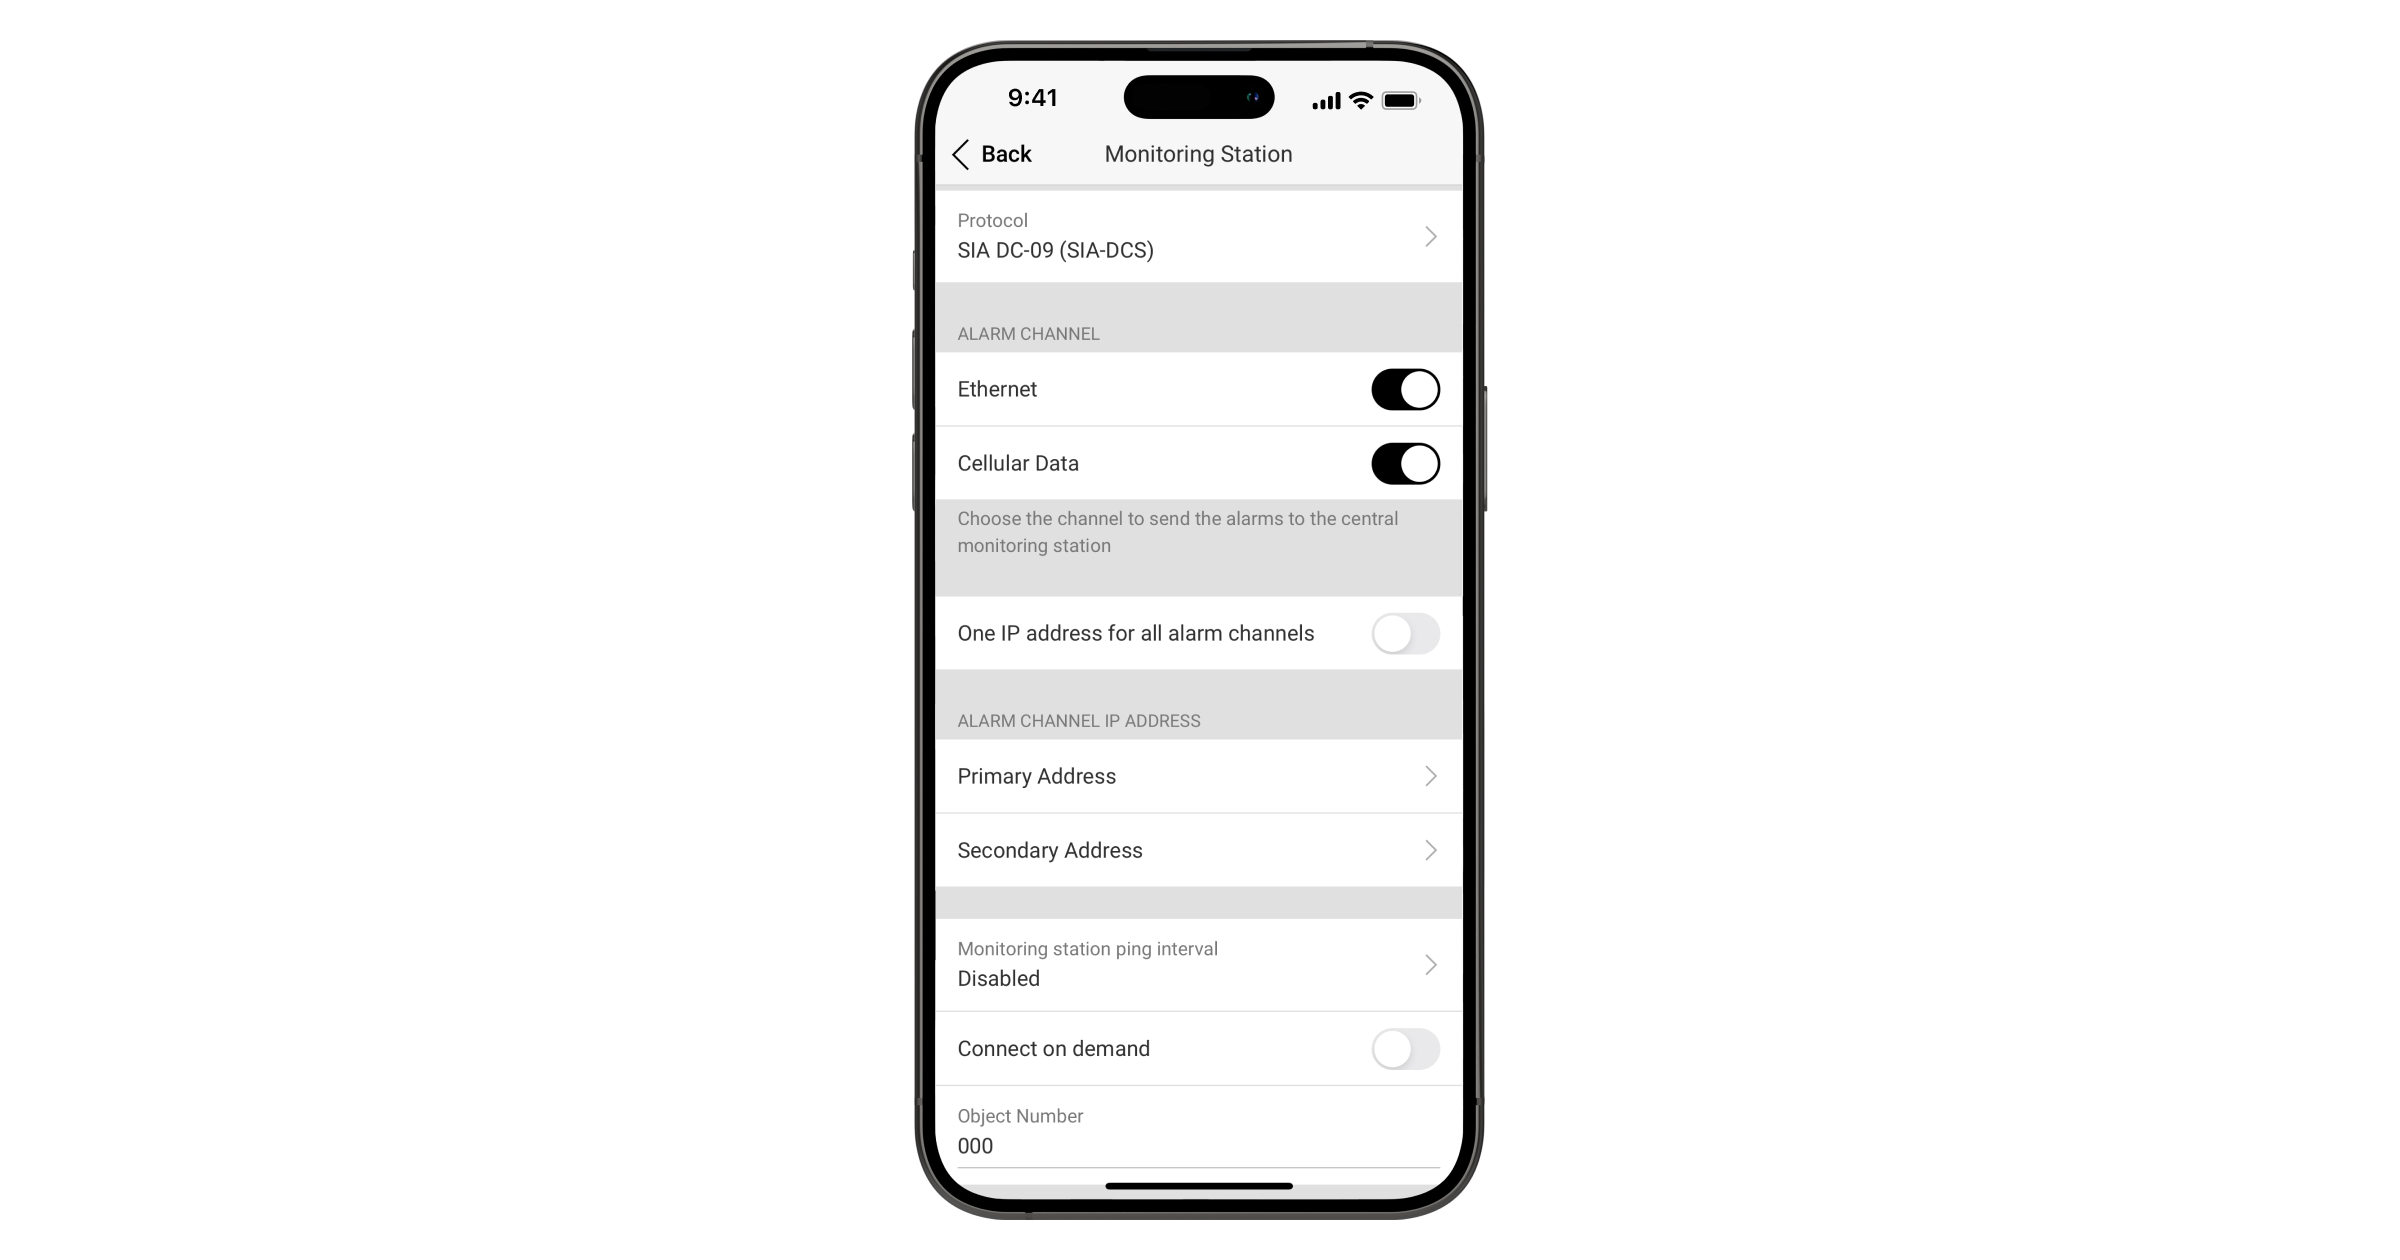
When direct connection is used, all events are communicated directly to the security company’s central monitoring station without affecting the functioning of the Ajax apps. If the direct connection is lost for any reason, the server acts as a redundant communication channel.
At the moment, such an opportunity is not provided, since the equipment of other manufacturers uses other frequencies and communication protocols with the control panels.
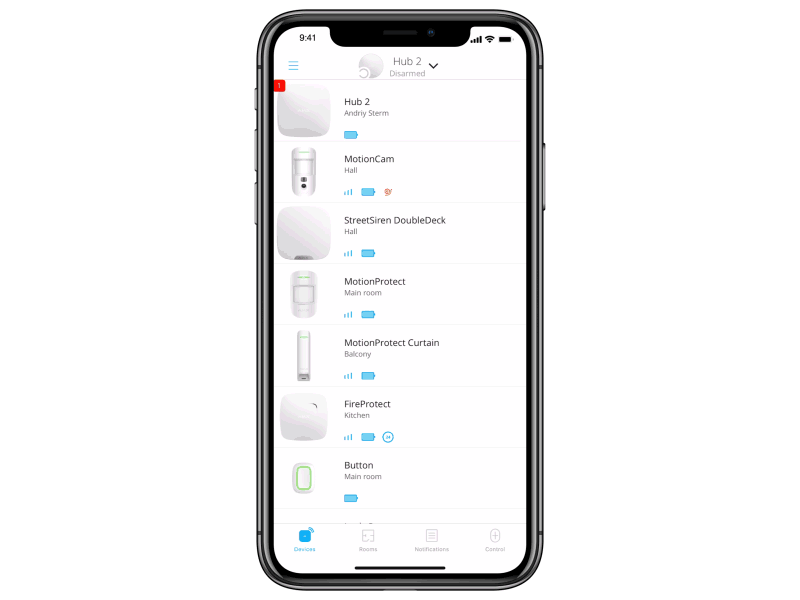
You can connect any IP camera using RTSP to the Ajax security system. In total, you can connect up to 10 cameras to Hub, up to 25 cameras to Hub 2, Hub Hybrid up to 50 cameras to Hub Plus, and up to 100 cameras to Hub 2 Plus.
Dahua cameras and video recorders can be added by scanning their QR codes (similarly to Ajax devices). And EZVIZ, Hikvision and Safire video surveillance systems can be added to the hub with a few clicks. So you don’t have to waste time on setting up network equipment.
Video recorders allow you to bypass the limit on the number of video surveillance devices that can be connected to the hub. The video recorder is a single device to which you can connect multiple video cameras. The video stream from each camera will be available in the Ajax app.
You need to click on the Number field, enter the balance check USSD code (available from the mobile phone service provider).
After entering the number, click “Check balance”. It takes about a minute to complete the request. After the query is executed, you will see the status of the SIM card account.
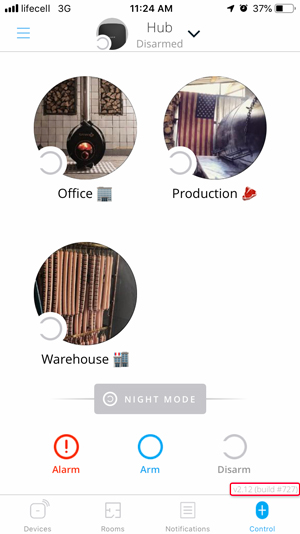
To find out which version of the app you have, go to the Control tab at the bottom of the screen. Find information on the version in the bottom right corner.
From Android 5.0.
How to install the Ajax app if I don’t have Google Play on my phone
At the moment, management is implemented on the following platforms:
It is possible. In the Ajax Security System application, on average, you can add up to 50 Hubs. Such an amount can withstand the average user’s smartphone, the number of the attached Hubs is not limited and depends only on the phone characteristics.
However, we do not recommend using the Ajax Security System application to monitor a large number of objects, for these purposes there is a solution for professional installers, Ajax PRO: Tool For Engineers.
Select Hub in the APP, and go to settings ![]() . Under the Users tab, select the user who wants SMS alerts. Go to that user’s settings
. Under the Users tab, select the user who wants SMS alerts. Go to that user’s settings ![]() and activate SMS.
and activate SMS.
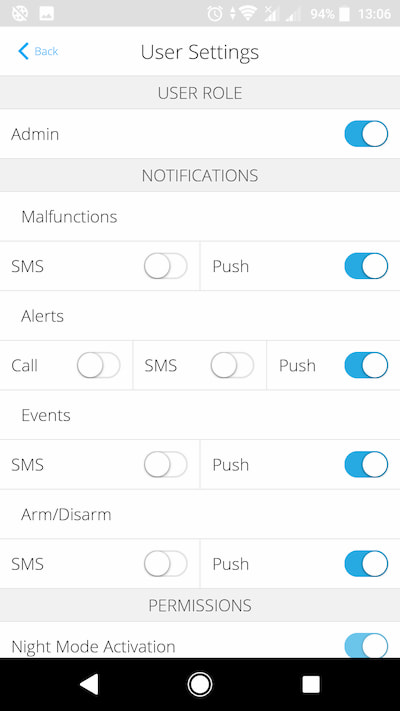
Please note that SMS may attract additional costs depending on the terms of the tariff plan.
An invitation to control the system is sent to the specified email address. If the email user has an Ajax account, the space will automatically appear in the user’s app. The Users menu displays such a person in the Active users section.
If the user does not have an account, they must install the Ajax app for iOS or Android and use the email address provided when registering. In the Users menu, such a person will appear in the Pending invites section.
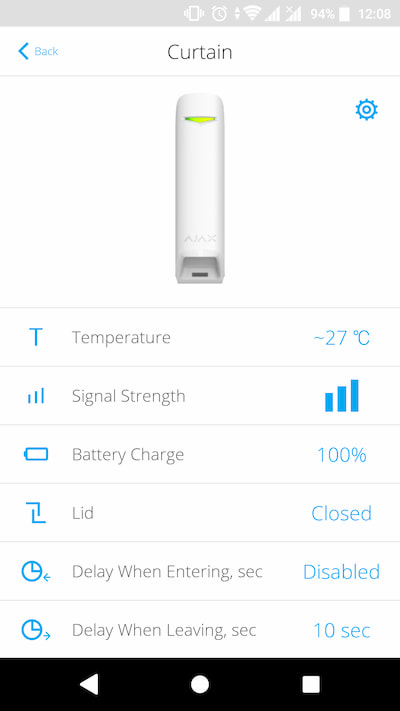
Go to the Devices tab ![]() , select the device you want to check.
, select the device you want to check.
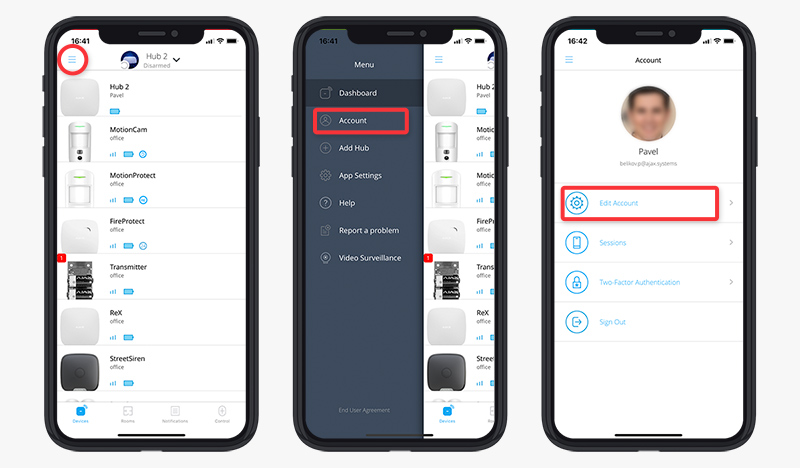
In the Ajax PRO app, the menu button is available only on the screen with the list of hubs linked to an account.
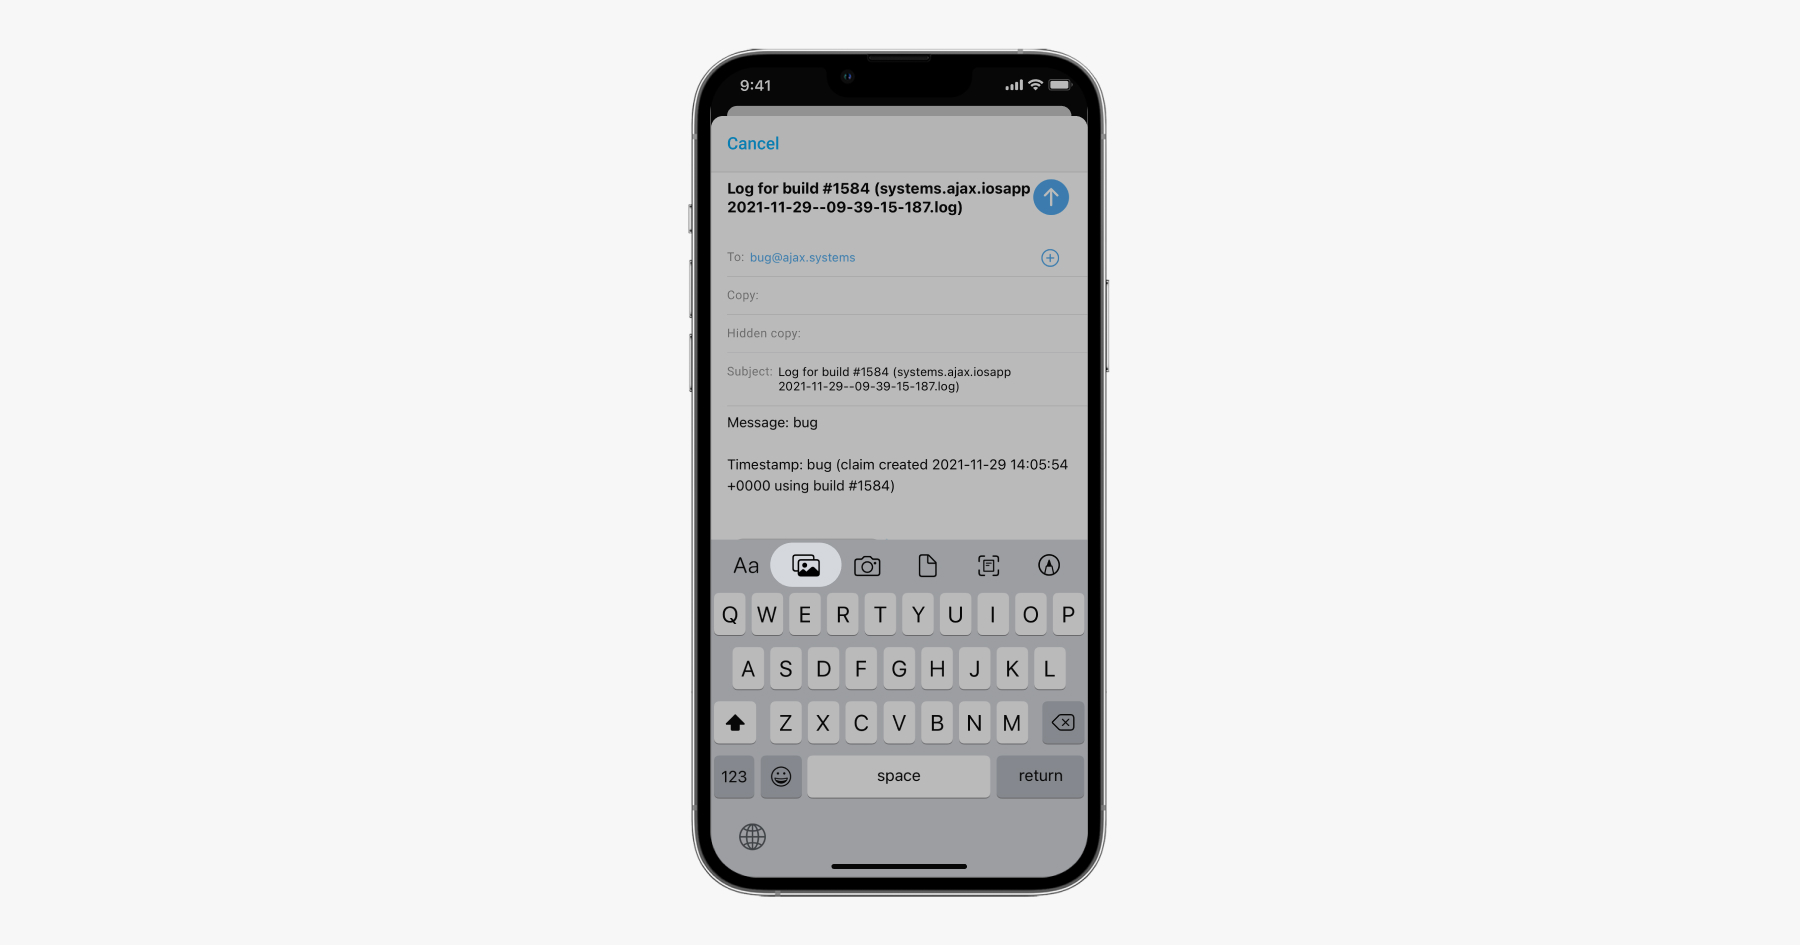
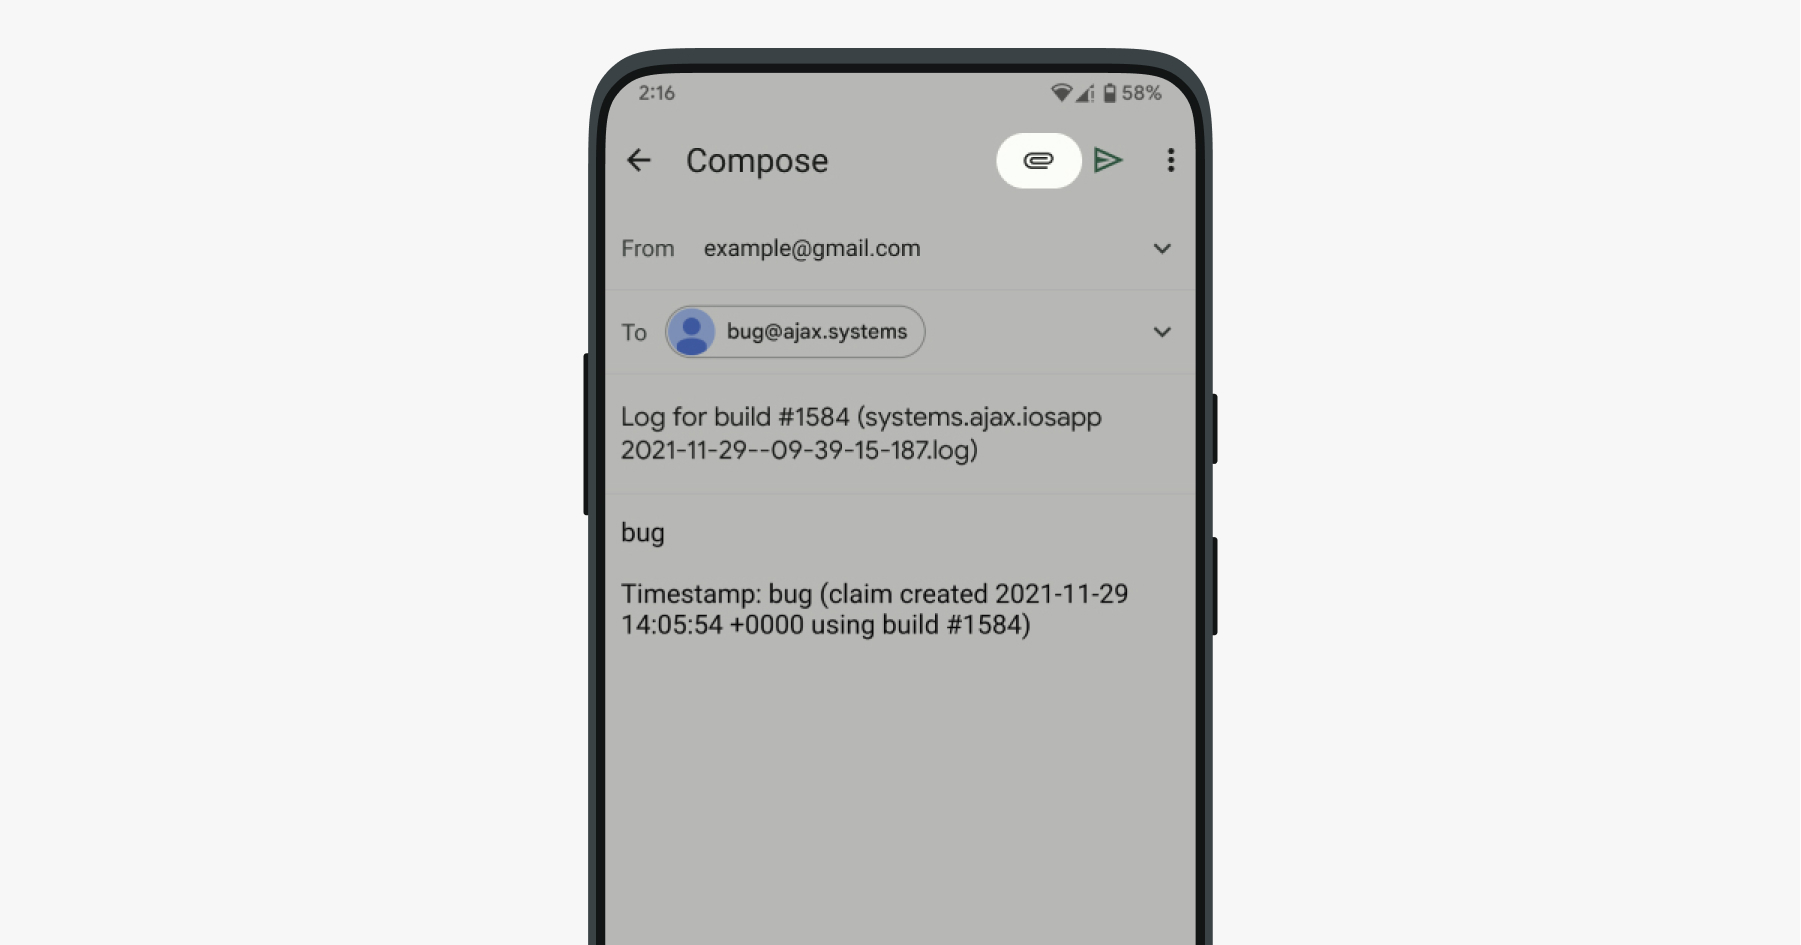
The problem report is sent to [email protected] via the Mail app by default. To send a report, link or create at least one account in this app, if you have not done so earlier. Please do not change the email address for sending a problem report.
Our support team works 24/7/365. Once the request has been received and processed, the technical support team will respond to the email from which the request was sent.
APP information can be found in the lower right corner, under the Control tab ![]() .
.
13.0 or higher. Compatible with iPhone, iPad and iPod touch.
| Minimum | Recommended | |
| Operating system | 64-bit or 32-bit Microsoft® Windows® 7/8/10 | 64-bit or 32-bit Microsoft® Windows® 7/8/10 |
| Processor | Intel® Core™ i3 4130 or equivalent | Intel® Core™ i5 7400 or equivalent |
| Random access memory | 8 GB | 16 GB |
| Video card | Graphics driver that provides OpenGL 2.1 and higher | Graphics driver that provides OpenGL 2.1 and higher |
| Storage | 2 GB of free space | 8 GB of free space |
| Screen resolution | 1600×900 | 1920×1080 |
| Minimum | Recommended | |
| Operating system | macOS® 10.14 (Mojave) | macOS® 11.6 (Big Sur) and later |
| Processor | Intel® Core™ i5 5th generation or equivalent | Intel® Core™ i5 10th generation/ Apple M1 chip or equivalent |
| Random access memory | 8 GB | 16 GB |
| Storage | 2 GB of free space | 8 GB of free space |
| Screen resolution | 1440×900 | 2560×1600 |
Ajax PRO Desktop and Ajax PRO Applications: Tool For Engineers use PRO user accounts, which are different to the user accounts created in the Ajax Security System application.
If you did not sign up to the PRO Application, create a user account and then log in. You may use the same email and phone number as in the usual Ajax user account.
The access to the Ajax web application was closed on October 30, 2018.
In January 2018, a warning was added to the web application:
We’re announcing that we will be shutting down Ajax web app soon. We had ambitious ideas to make the multifunctional platform for the web browsers. But along the way, we have created mobile apps, which became the most popular way to control Ajax security systems for our users. And since it is a lot faster to launch new features through mobile apps, we decided to focus all our energies and resources on it.
Soon we will present a new Ajax Desktop app for PROs. With its help security firms and engineers will be able to monitor hubs and provide service remotely. All other users can still control their Ajax security systems through mobile apps for iOS and Android.
We have developed the Ajax PRO Desktop application for PC. It is secured, protected, TLS-encrypted, and it has all the features of the Ajax PRO: Tool for Engineers mobile application.
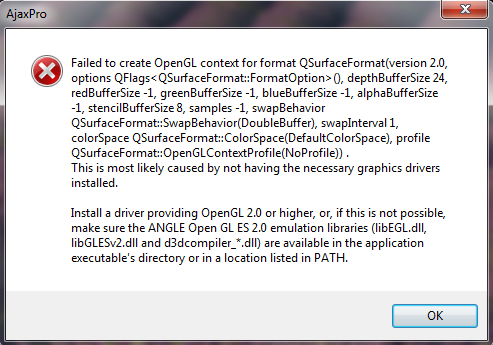
A similar window may appear during the installation of Ajax PRO Desktop due to the problems associated with OpenGL libraries. The problem may be resolved by updating the drivers of the computer’s graphics card.
If the driver update does not ensure the desired outcome, the graphics card is probably not compatible with the application. We recommend contacting customer service specifying the OS version and the graphics card model to resolve the issue.
