 United States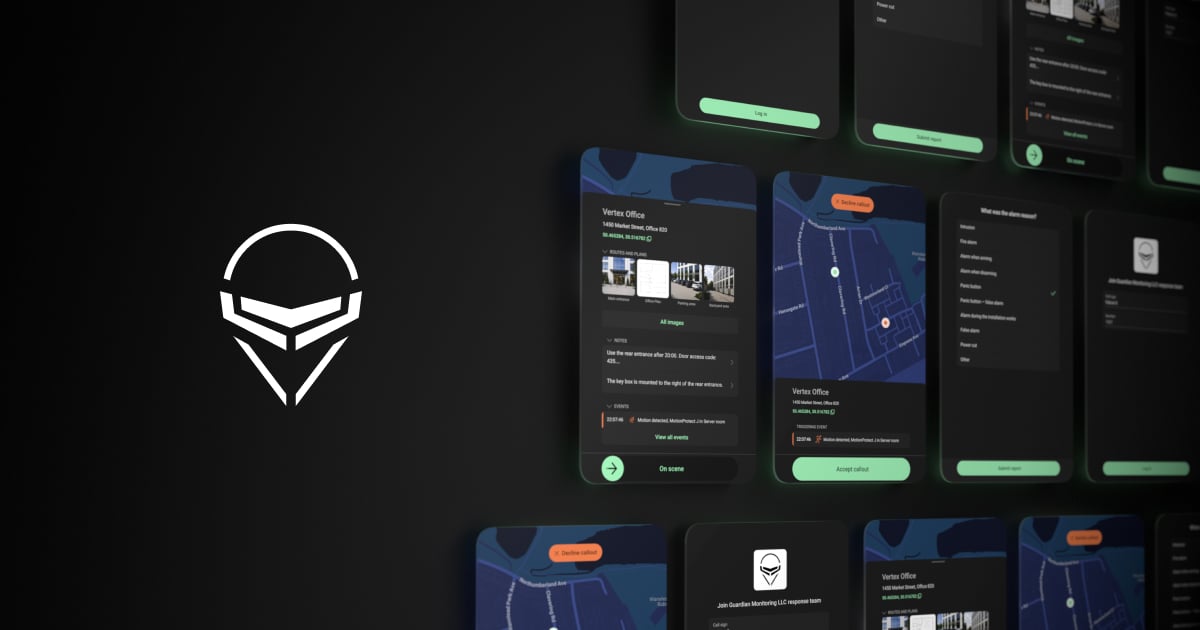
Ajax Response is an app designed for rapid response units (RRUs). It works together with Ajax PRO Desktop and allows operators and response teams to exchange incident information without additional phone calls or radio communication.
Operators manage RRUs, assign incidents, and monitor response statuses in Ajax PRO Desktop. Meanwhile, response teams receive and process incidents in the Ajax Response mobile app.
Operators can:
- Assign an incident to an RRU.
- Cancel the assignment.
- Monitor the RRU status while the incident is being processed and add comments to status changes.
This allows operators to track incident handling without contacting the RRU directly each time.
Requirements
Before using Ajax Response, make sure the following conditions are met:
- Operators must have Ajax PRO Desktop 5.54 or later installed.
- The rapid response unit must have an Android tablet.
- Ajax Response must be installed on the device.
- The device must be registered with the company.
- The protected facility must have location coordinates configured.
Operating principle
The RRU device must be registered with the company via Ajax PRO Desktop beforehand. After the device is verified, response personnel sign in to Ajax Response using their call sign and number.
An operator assigns a response unit to a facility and can dispatch incidents to the RRU when needed. The response unit receives the incident in Ajax Response, accepts or rejects the assignment, and updates its status during incident processing.
The operator can monitor the RRU status and all response activities in Ajax PRO Desktop while the incident is active. After the operator closes the incident, the response activity history remains available in the company journal.
Registering an RRU device in Ajax PRO Desktop
Device registration is performed in Ajax PRO Desktop. Ajax Response is used only to verify the device and sign in to the response unit account.
Only the Senior CMS Engineer can register an RRU device on which the Ajax Response app will be installed.
The following roles can view the list of registered devices:
- Company owner
- Engineer
- Head of operators
- Operator
To register a device:
In Ajax PRO Desktop, go to Company, select Response Units (RRU), and then go to Device allowlist.

Click Add device.
On the mobile device, open Ajax Response and tap Verify device.
Enter the generated code in Ajax PRO Desktop.
Enter a device name.
Click Add.
The device is added to the company and can be used to log in to Ajax Response.
Logging in to Ajax Response
After the RRU device with Ajax Response installed is added to the company in Ajax PRO Desktop, RRU personnel can log in to the app.
To log in to Ajax Response:
Complete all the steps described in the Registering an RRU device in Ajax PRO Desktop section.
In Ajax Response, enter the RRU call sign and number configured in Ajax PRO Desktop. Note that the call sign is case-sensitive.
You can manage these credentials in Company → Response units (RRU) → Response units.
Tap Log in.
Set the response unit availability status using the toggle. This allows RRU personnel to indicate whether the response unit is currently available to process incidents.

To receive callouts, the response unit must be available for operators in Ajax PRO Desktop.
Adding facility coordinates
Coordinates are added via Ajax PRO Desktop.
Facility coordinates are required for automatic dispatch.
To add coordinates:
- Open the required facility.
- Go to the Object info tab.
- Click Edit, and then select Coordinates.
- Enter the coordinates in decimal degrees (DD) format, for example: 50.49181, 30.44562.
The coordinates are displayed in the Object info tab and in the incident card.
When an incident is assigned to an RRU, the response team can view the facility location on the map in Ajax Response.
Assigning an RRU to a facility
Before you begin, make sure that the response unit has already been created in Company → Response units (RRU).
To assign an RRU to a facility:
- In Ajax PRO Desktop, go to the Objects tab.
- Select the facility.
- Go to the Response unit tab.
- Select a response unit from the list. You can specify which response team serves as the main unit and which serves as the backup.
- Save the changes.
The response unit becomes available for manual and automatic incident assignment.
Incident processing
The operator can assign an incident to a response unit in automatic mode if:
- the RRU is logged in;
- the RRU status is Available;
- the facility has coordinates configured.
If these conditions are met, the operator can assign the incident to the response unit in automatic mode.
Note that if an RRU is processing an incident assigned from the Automatic mode tab, the response unit cannot be deactivated, deleted from the company, or removed from the facility.
Make sure that you have configured the correct coordinates as described in the Adding Facility Coordinates section in Ajax PRO Desktop. Facility coordinates are required for automatic incident assignment.
When an incident is assigned from the Automatic mode tab, the response unit receives the facility location and can navigate to the site using the coordinates displayed in Ajax Response.
If the facility does not have coordinates configured, automatic incident processing is unavailable. In this case, the system displays a warning, and the operator can use only manual incident processing.
Declining a callout
To decline a callout:
After the operator assigns an incident to the RRU, open the incident in Ajax Response.
Tap Decline callout.

Confirm the action by tapping Yes, decline.
You can also view the incident details, view other events at the facility, and decline the callout by tapping Cancel callout.
The response unit returns to the Available status. The operator can assign the incident again.
Accepting a callout
RRU personnel can accept a callout in Ajax Response to start processing the incident.
To accept a callout:
After the operator assigns an incident to the RRU, open the incident in Ajax Response.
Tap Accept callout.

After accepting the callout, the response unit cannot receive other incidents.
The RRU can view:
- facility name;
- facility address;
- coordinates;
- routes and facility plans;
- notes;
- the event that triggered the incident;
- events that occurred at the facility after the incident started, available on a separate All events screen when the incident is Accepted.
Note that the RRU can view the All events history only for incidents that are assigned by an operator, accepted by the RRU, and still active.
Canceling an incident
RRU personnel can cancel an accepted incident at any stage of incident processing, including after arriving at the facility.
To cancel an incident:
- If the response unit has arrived at the facility, confirm the arrival.
- Tap Cancel callout.
- Confirm the action.
The response unit returns to the Available status and can receive new incidents.
Completing an incident
After the response unit finishes processing the incident, the callout is closed in Ajax Response.
To complete the incident:
In the app, open the accepted incident and pull the Finish and report slider.

In the What was the alarm reason? list, select the reason for the incident. If the required reason is not listed, select Other and enter it manually.
Tap Submit report.
After the report is submitted, the operator can review the response details, contact the response unit if additional clarification is required, and close the incident in Ajax PRO Desktop by selecting the appropriate incident reason.
Viewing incident activity history in Ajax PRO Desktop
Operators can monitor the response unit activity during an incident.
To view active incident activity in Ajax PRO Desktop:
- Go to the Processing tab.
- Select the required active incident.
- In the right menu, open the Incident timeline tab.
After the operator closes the incident, the response unit activity history remains available in the Journal.
To view the activity history:
- Open the company journal.
- Click the red clock icon next to the closed incident.
The system displays all actions performed by the response unit in Ajax Response.
