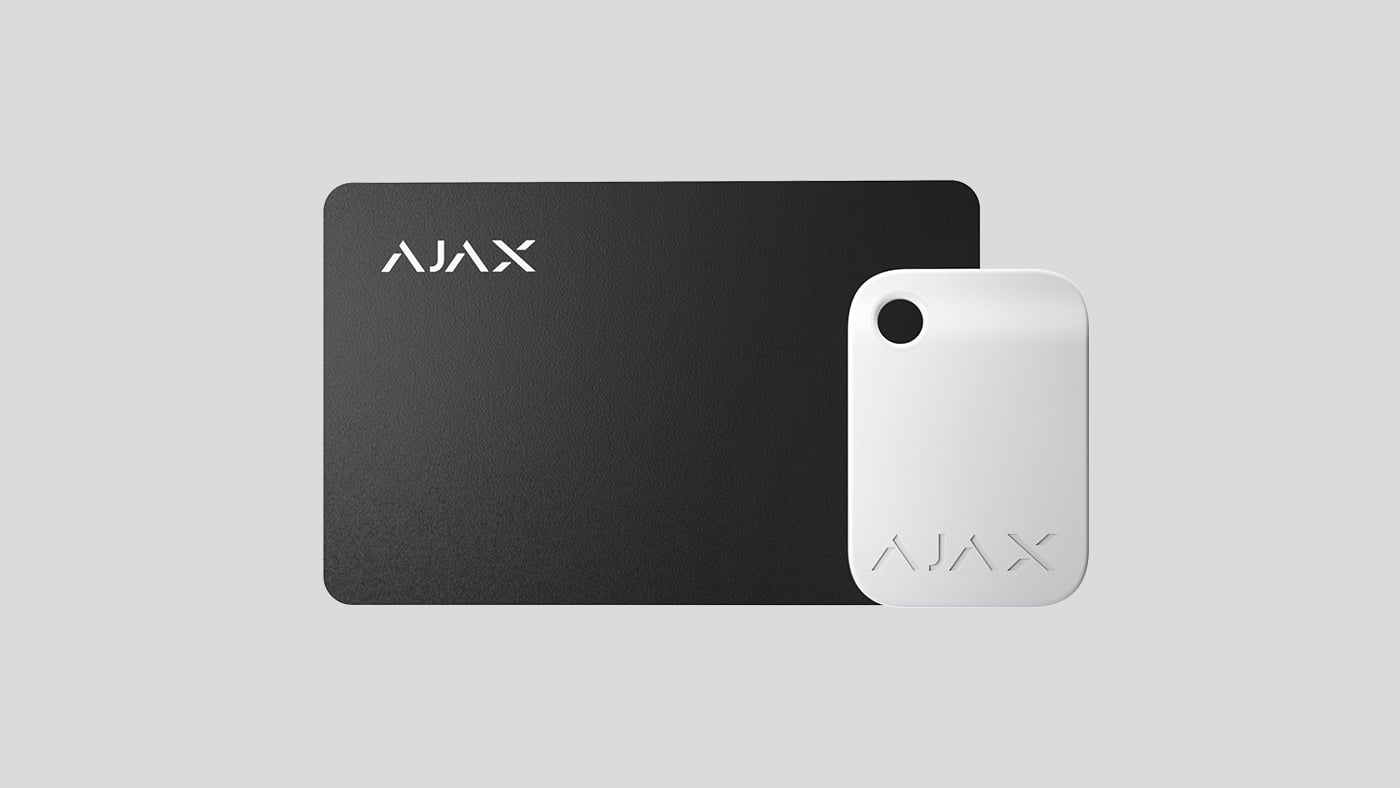
Tag and Pass are encrypted contactless access devices for managing the security modes of the Ajax system. They have the same functions and differ only in their body: Tag is a key fob, and Pass is a card.
Compatibility with Ajax keypads
Pass and Tag works with:
Appearance

1. Pass
2. Tag
Operating principle
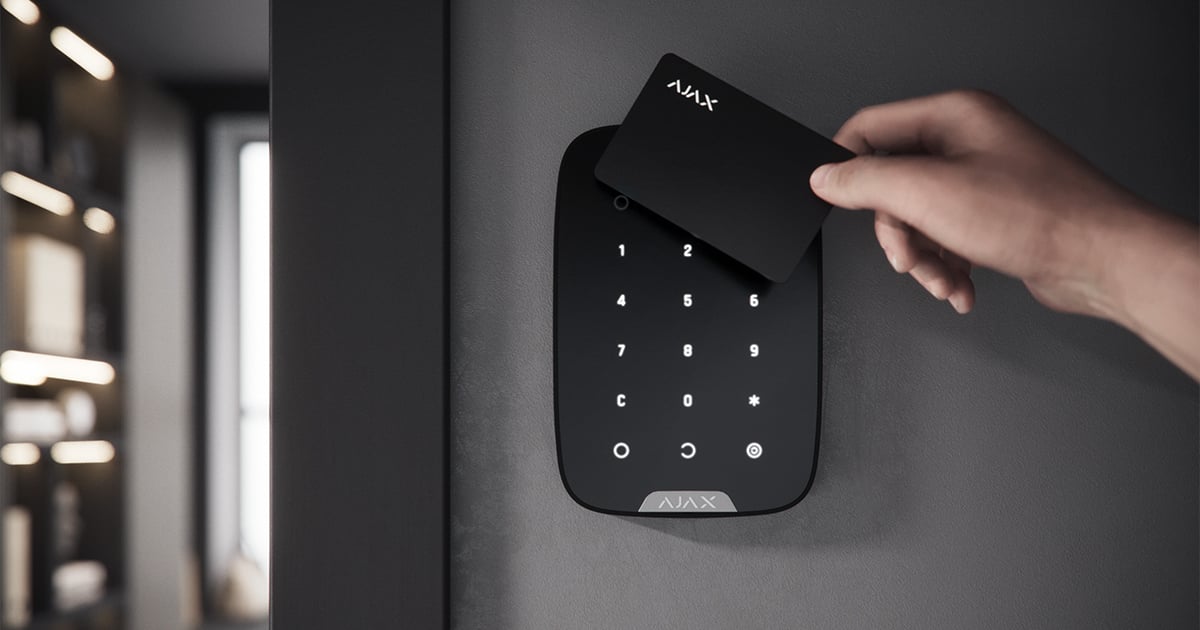
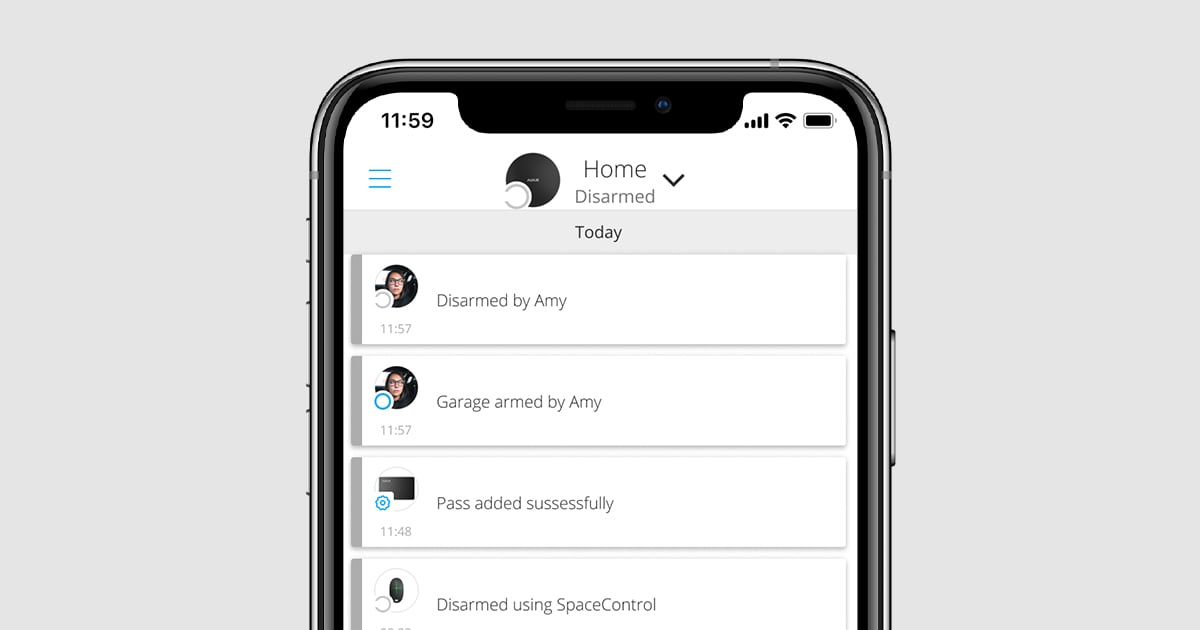
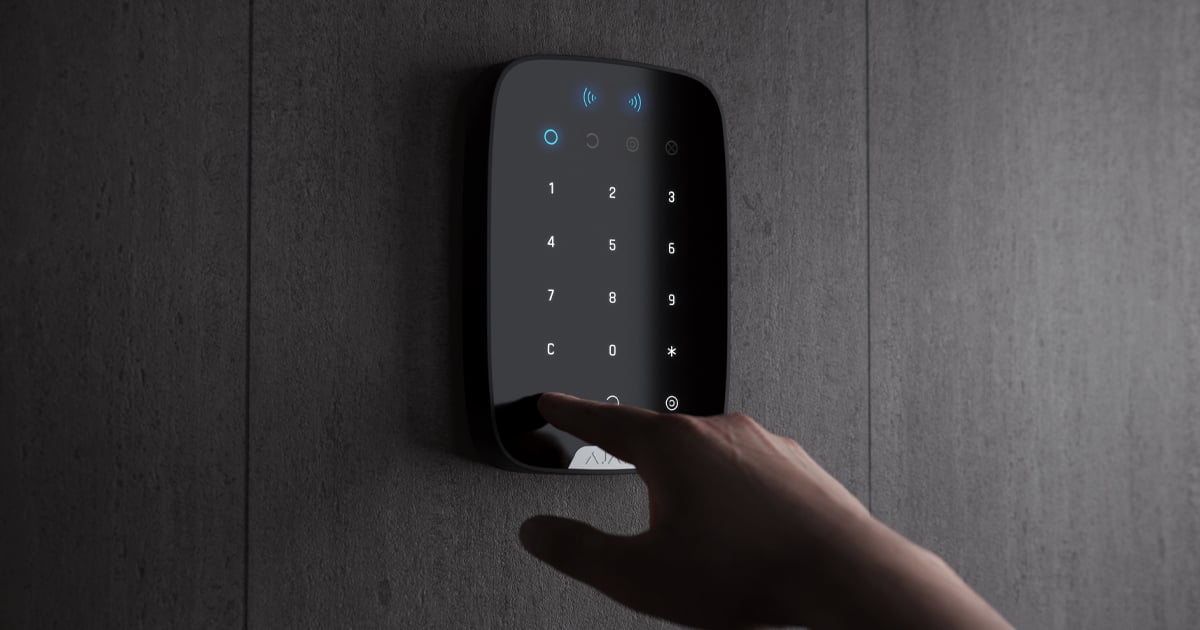
Tag and Pass allow you to manage an object’s security without an account, access to the Ajax app, or knowing the password — all it takes is activating a compatible keypad and putting the key fob or card to it. The security system or a specific group will be armed or disarmed.
To quickly and securely identify users, KeyPad Plus uses the DESFire® technology. DESFire® is based on the ISO 14443 international standard and combines 128-bit encryption and copy protection.
Tag and Pass usage is recorded in the events feed. The system administrator can at any time revoke or restrict the access rights of the contactless identification device through the Ajax app.
Types of accounts and their rights
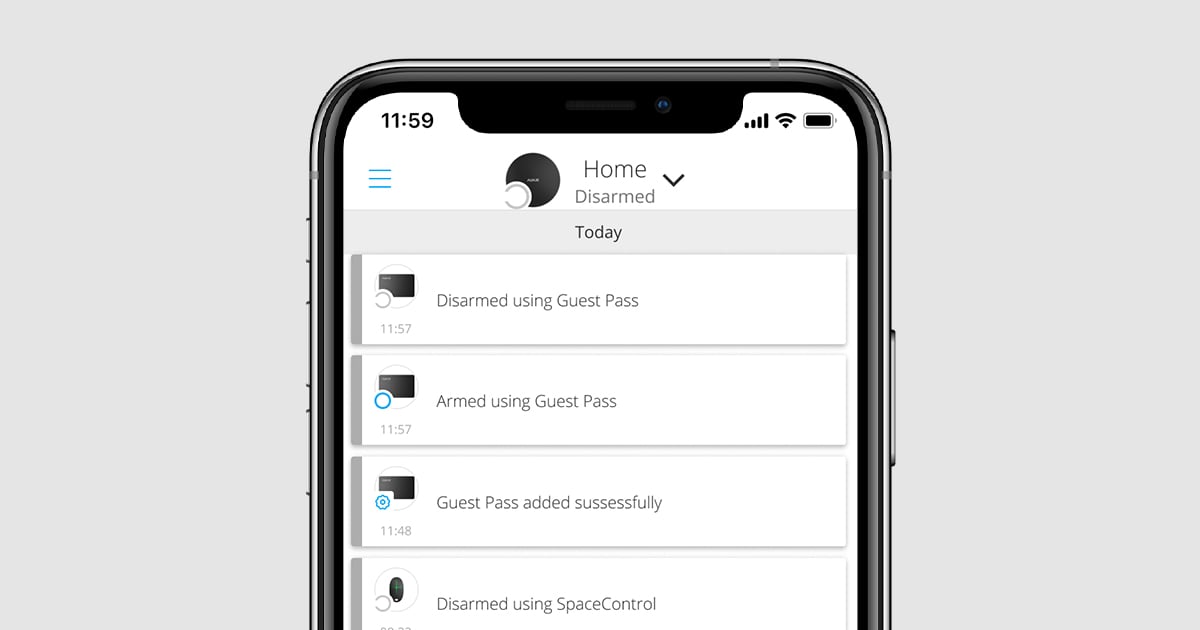
Tag and Pass can work with or without user binding, which affects the notification texts in Ajax app and SMS.
With user binding The username is displayed in the notifications and events feed |
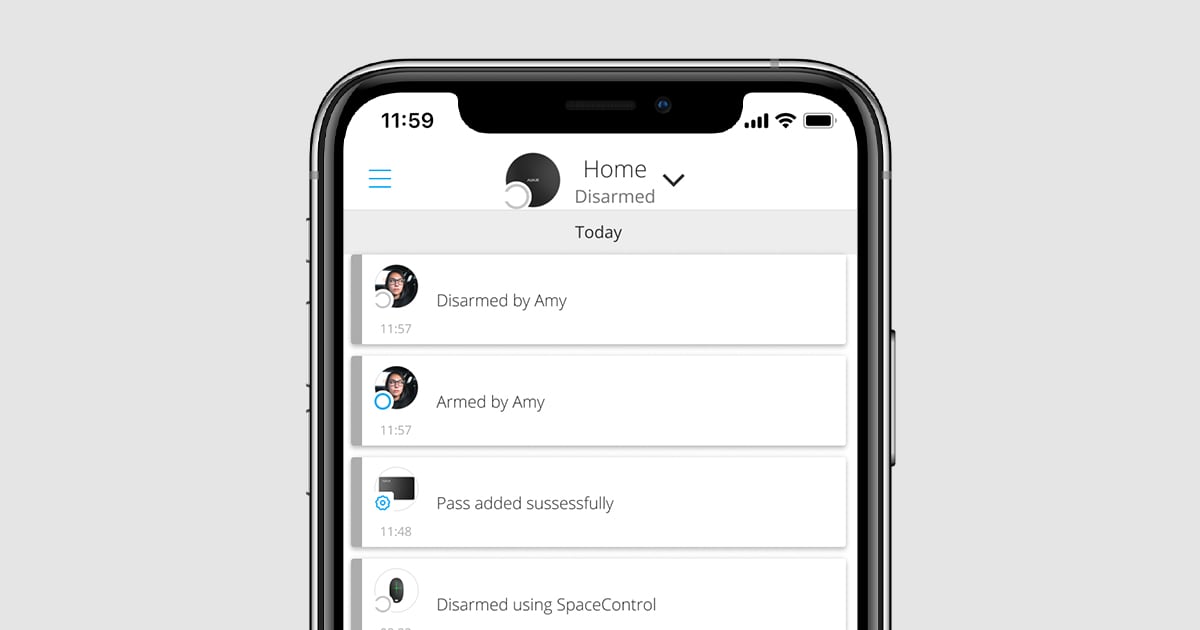 |
Without user binding The device name is displayed in the notifications and events feed |
 |
Tag and Pass can work with several hubs at the same time. The maximum number of hubs in the device memory is 13. Remember that you need to bind a Tag or Pass to each of the hub separately through the Ajax app.
The maximum number of Tag and Pass devices connected to a hub depends on the hub model. At the same time, the Tag or Pass does not affect the total limit of devices on the hub.
Hub model | Number of Tag and Pass devices |
Hub (4G) Jeweller | 50 |
Hub Plus Jeweller | 99 |
Hub 2 (2G) Jeweller | 50 |
Hub 2 (4G) Jeweller | 50 |
Hub 2 Plus | 200 |
Hub BP Jeweller / Hub BP Jeweller (without casing) | 50 |
Superior Hub G3 Jeweller | 200 |
Superior Hub Hybrid (2G) / Superior Hub Hybrid (4G) / Superior Hub Hybrid (4G) (without casing) | 50 |
Superior Hub Hybrid 2 / Superior Hub Hybrid 2 (without casing) | 200 |
Superior MegaHub / Superior MegaHub (without casing) | 1,000 |
One user can bind any number of Tag and Pass devices within the limit of contactless identification devices on the hub. Remember that devices remain connected to the hub even after removing all keypads.
A user or an authorized guest can use a Tag or Pass to control autonomous security modes.
Sending events to the monitoring station
The Ajax system can transmit alarms to the PRO Desktop monitoring app as well as the central monitoring station (CMS) in the formats of SurGard (Contact ID), SIA (DC-09), ADEMCO 685, and other protocols.
When a Tag or Pass is bound to a user, arm and disarm events will be sent to the monitoring station with the user ID. If the device is not bound with the user, the hub will send the event with the device identifier. You can find the device ID in the States menu.
Adding to the system
The devices are incompatible with the hub type of Hub, third-party security central panels, and ocBridge Plus and uartBridge integration modules. Pass and Tag only work with KeyPad Plus keyboards.
Before adding a device
Install an Ajax app. Create an account. Add a hub to the app and create at least one room.
Make sure that the hub is on and has access to the internet (via Ethernet cable, Wi-Fi, and/or mobile network). You can do this in the Ajax app or by looking at the hub logo on the front panel — the hub lights white or green when connected to the network.
Make sure the hub is not armed nor updates by looking at its status in the Ajax app.
Make sure a compatible keypad with DESFire® support is already connected to the hub.
If you want to bind a Tag or Pass to a user, make sure that the user’s account has already been added to the hub.
Only a user or PRO with administrator rights can connect a device to the hub.
How to add a Tag or Pass to the system
Open the Ajax app. If your account has access to multiple hubs, select the one to which you want to add a Tag or Pass.
Go to the Devices
tab.
Ensure the Pass/Tag Reading feature is enabled in at least one keypad settings.
Click Add Device.
From the drop-down menu, select Add Pass/Tag.
Specify the type (Tag or Pass), colour, device name, and name (if necessary).
Click Next. After that, the hub will switch to the device registration mode.
Go to any compatible keypad with Pass/Tag Reading enabled, activate it — the device will beep (if enabled in the settings), and the backlight will light up. Then press the disarming key
. The keypad will switch to the access device logging mode.
Put Tag or Pass with the wide side to the keypad reader for a few seconds. It is marked with wave icons on the body. Upon successful addition, you will receive a notification in the Ajax app.
If the connection fails, try again in 5 seconds. Please note that if the maximum number of Tag or Pass devices has already been added to the hub, you will receive a corresponding notification in the Ajax app when adding a new device.
Tag and Pass can work with several hubs at the same time. The maximum number of hubs is 13. Keep in mind that you need to bind devices to each of the hubs separately through the Ajax app.
If you try to bind a Tag or Pass to a hub that has already reached the hub limit (13 hubs are bound to them), you will receive a corresponding notification. To bind such a Tag or Pass to a new hub, you will need to reset it (all data from tag/pass will be erased).
States
The states include information about the device and its operating parameters. Tag or Pass states can be found in the Ajax app:
Go to the Devices
Select Passes/Tags.
Select the required Tag or Pass from the list.
Parameter | Meaning |
User | The name of the user to which Tag or Pass is bound. If the device is not bound to a user, the field displays the text Guest |
Active | Displays the status of the device:
|
Identifier | Device identifier. Transmitted in events that are sent to the CMS |
Setting up
Tag and Pass are configured in the Ajax app:
Go to the Devices
Select Passes/Tags.
Select the required Tag or Pass from the list.
Go to Settings by clicking on the
icon.
Please note that after changing the settings, you must press the Back button to save them.
Parameter | Value |
Select device type | Tag or Pass |
Colour | Choice of Tag or Pass colour: black or white |
Device name | Displayed in the list of all hub devices, SMS texts, and notifications in the events feed. The name can contain up to 12 Cyrillic characters or up to 24 Latin characters. To edit, click on the pencil icon |
User | Select the user to which Tag or Pass is bound. When a device is bound to a user, it has the same security management rights as the user |
Security management | Selection of security modes and groups that can be managed by this Tag or Pass. The field is displayed and active if Tag or Pass is not associated with the user |
Active | Allows you to temporarily disable Tag or Pass without removing the device from the system |
User Guide | Opens the Tag and Pass User Manual in the Ajax app |
Unpair device | Removes Tag or Pass and its settings from the system. There are two options for removing: when Tag or Pass is placed nearby, or access to it is absent. If Tag or Pass is nearby:
When you delete a Tag or Pass in this way, they disappear from the list of hub devices in the application. If Tag or Pass is not available:
In this case, the hub is not deleted from the Tag or Pass memory. To clear the device’s memory, you will need to reset it (all data will be deleted from the device). |
Binding a Tag or Pass to a user
When a Tag or Pass is linked to a user, it fully inherits the rights to manage the user’s security modes. For example, if a user was able to manage only one group, then the bound Tag or Pass will have the right to manage only this group.
One user can bind any number of Tag or Pass devices within the limit of contactless identification devices connected to the hub.
User rights and permissions are stored in the hub. After being bound to a user, Tag and Pass represent the user in the system if devices are bound to the user. Therefore, when changing user rights, you do not need to make changes to the Tag or Pass settings — they are applied automatically.
To bind a Tag or Pass to a user, in the Ajax app:
Select the required hub if there are several hubs in your account.
Go to the Devices
Select Passes/Tags.
Select the required Tag or Pass.
Click on the
Select a user in the appropriate field.
Click Back to save the settings.
When the user—to whom Tag or Pass is assigned—is deleted from the hub, the access device can not be used to manage security modes until not assigned to another user.
You can also set a Scheduled access feature to configure temporary access to the premises on specific days and at specific times.
Temporarily deactivating a Tag or Pass
The Tag key fob or the Pass card can be temporarily disabled without removing them from the system. A deactivated card cannot be used to manage security modes.
If you try to change the security mode with a temporarily deactivated card or key fob more than 3 times, the keypad will be locked for the time set in the settings (if the setting is enabled), and corresponding notifications will be sent to the system users and to the security company monitoring station.
To temporarily deactivate a Tag or Pass, in the Ajax app:
Select the required hub if there are several hubs in your account.
Go to the Devices
Select Passes/Tags.
Select the required Tag or Pass.
Click on the
Disable the Active option.
Click Back to save the settings.
To reactivate Tag or Pass, turn on the Active option.
Resetting a Tag or Pass
Up to 13 hubs can be bound to one Tag or Pass. As soon as this limit is reached, binding new hubs will only be possible after completely resetting Tag or Pass.
Note that resetting will delete all settings and bindings of key fobs and cards. In this case, the reset Tag and Pass are only removed from the hub from which the reset was made. On other hubs, Tag or Pass are still displayed in the app, but they cannot be used to manage the security modes. These devices should be removed manually.
When protection against unauthorized access is enabled, 3 attempts to change the security mode with a card or key fob that has been reset in a row block the keypad. Users and a security company are instantly notified. The time of blocking is set in the device settings.
To reset a Tag or Pass, in the Ajax app:
Select the required hub if there are several hubs in your account.
Go to the Devices
Select a compatible keypad from the device list.
Click on
Select the Pass/Tag Reset menu.
Go to the keypad with pass/tag reading enabled and activate it. Then press the disarming key
Put the Tag or Pass to the keypad reader. It is marked with wave icons on the body. Upon successful formatting, you will receive a notification in the Ajax app.
Use
The devices do not require additional installation or fastening. The Tag key fob is easy to carry with you thanks to a special hole on the body. You can hang the device on your wrist or around your neck, or attach it to the key ring. The Pass card has no holes in the body, but you can store it in your wallet or phone case.
If you store a Tag or Pass in your wallet, do not place other cards next to it, such as credit or travel cards. This may interfere with the correct operation of the device when attempting to disarm or arm the system.
To change the security mode:
Activate KeyPad Plus by swiping over it with your hand. The keypad will beep (if enabled in the settings), and the backlight will light up.
Put the Tag or Pass to the keypad reader. It is marked with wave icons on the body.
Change the security mode of the object or zone. Note that if the Easy armed mode change option is enabled in the keypad settings, you do not need to press the security mode change button. The security mode will change to the opposite after holding or tapping Tag or Pass.
How to control the security mode of a single group
Using Tag or Pass with Two-Stage Arming enabled
Tag and Pass can participate in two-stage arming, but cannot be used as second-stage devices. The two-stage arming process using Tag or Pass is similar to arming with a personal or general keypad password.
What is two-stage arming and how to use it
Maintenance
Tag and Pass are battery-free and maintenance-free.
Technical specifications
All technical specifications of Tag
All technical specifications of Pass
Complete Set
Tag or Pass — 3/10/100 pcs (depending on the kit).
Quick start guide.
Warranty
Warranty for the Limited Liability Company “Ajax Systems Manufacturing” products is valid for 2 years after the purchase.
If the device does not function correctly, please contact the Ajax Technical Support first. In most cases, technical difficulties can be resolved remotely.
Contact Technical Support:
Manufactured by “AS Manufacturing” LLC
